
In today’s world, online presence is indispensable for businesses, including local businesses such as locksmith services.
Creating a professional business website is a crucial step in establishing your business’s online presence, and fortunately, it doesn’t have to break the bank. Skipping the website means missing out on opportunities to reach a broader audience and showcase your services effectively.
If you’re looking to take your local business online, this guide will walk you through the process of creating a static HTML website and publishing it with a custom domain (website address) without spending a dime on website hosting.
Step 1: Develop Your Locksmith Website Locally
- Create HTML Pages: Start by creating the HTML pages for your local business such as locksmith website. Include essential details such as the services you offer, service areas, contact information, and any promotions you’d like to highlight.
- Add CSS Styling: Enhance the visual appeal of your website with CSS styling. You can either write your own styles or leverage existing templates to give your locksmith site a polished and professional look.
- Ensure Responsiveness: Make sure your website is responsive, ensuring a seamless experience for users across various devices, from desktops to smartphones.
- Free HTML templates: Instead of starting from scratch, you can find free HTML templates for business websites available for free download. Pick a nice HTML template which allows commercial use. Use the template as the building platform and edit it to make your business website.
How to create the right business website?
A business website is created with the specific objective of serving as the online information hub and storefront for a business. A locksmith business will have a main index page where visitors can find a summary introduction of the locksmith company and the services it provides. The website should be easy to navigate and must have the contact information displayed prominently.
Let’s look at the HTML website for a Chicago locksmith business. For a local business that’s providing locksmith services in the Chicago area, the website should include the business introduction, its license information, and a list of services (residential locksmith, commercial locksmith and automotive locksmith) it provides.
In the top header section of the webpages, we need to add a navigation menu that allows users to find the main pages as well as the contact page. All the pages should have a footer section with the business storefront address and working hours. It should also have the map of the business location embedded.
As the Chicago area covers a wide area, your locksmith business website should also include a page providing details of the service area. You don’t want to receive a call for locksmith service from an area that’s not served by you. Let’s say you serve Chicago and a 15-mile radius area from your business location. A custom map with the serviced area clearly demarcated will help people find the information before calling you.
Step 2: Register your Web Address or Domain Name
All websites have a domain name or the website address that you type in the web browser to reach the website. Eg: reduxthemes.com and google.com.
Based on your business, you need to find and register a unique domain name such as reliablelocksmith.com, chicagoplumbing.com or sunshinerealty.com.
There are may more options for domains other than those ending with .com extension (TLD). However, a .com domain is the best option when you are looking to start a business in the US or targeting the global audience.
- Go to a Domain Registrar: A domain name or web address is registered by registrars such as GoDaddy, NameCheap, and Cloudflare Domains.
- Search for Available Domains: On the registrar website, you will find an option to find domain names that are available for registration. You might have to search for a while before you can find a good name that’s available. Make sure that your domain name is short and easy to remember. Also, don’t use a hyphen or number in the domain name.
- Register the Domain Name: Once you find the domain name for your business, register the domain. You will have to keep your domain name active by paying for annual registration charges on time. You can also pay for several years at once.
Step 3: Free Static HTML Hosting
Several online tools such as Cloudflare Pages, Github Pages and Netlify provide free web hosting for HTML websites. You don’t have to pay a penny for getting your HTML website online. Though it might be easy to build and manage a website with tools such as WordPress, a HTML website can provide the same professional experience to your visitors. Unlike other websites, a HTML site is static and doesn’t require any computing.
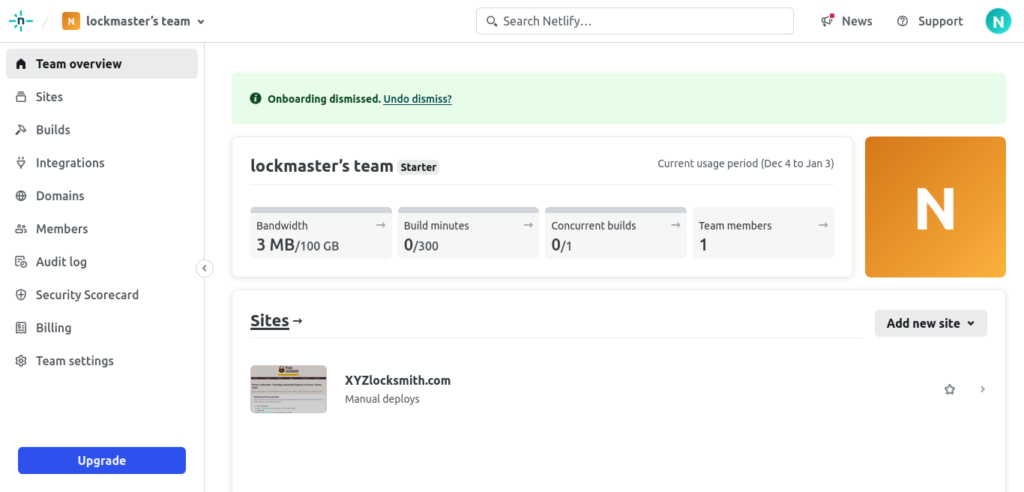
For this tutorial, let us see how we can use Netlify to host our HTML website for FREE.
- Sign Up for Netlify: Go to Netlify.com and sign up for a free account. The sign-up process is straightforward, requiring just an email address and password.
- Create a New Site: In your Netlify dashboard, initiate the process of creating a new site. When presented with the choice to create a new site, select the “Deploy manually” option. On the next page (), you need to upload the entire folder (or the ZIP archive folder) that contains your HTML website. If your website isn’t ready yet, upload a folder with one file named index.html. (If you use Github or Gitlab or any other Git to store your website files, you can link your Netlify account to your Git repository.)
Step 4: Deploy Your Website on Netlify
- Drag and Drop Files: Once your site is created on Netlify, you can simply drag and drop your HTML and CSS files directly into the Netlify dashboard. This eliminates the need for complex deployment processes.
- Log in and head over to your Netlify dashboard.
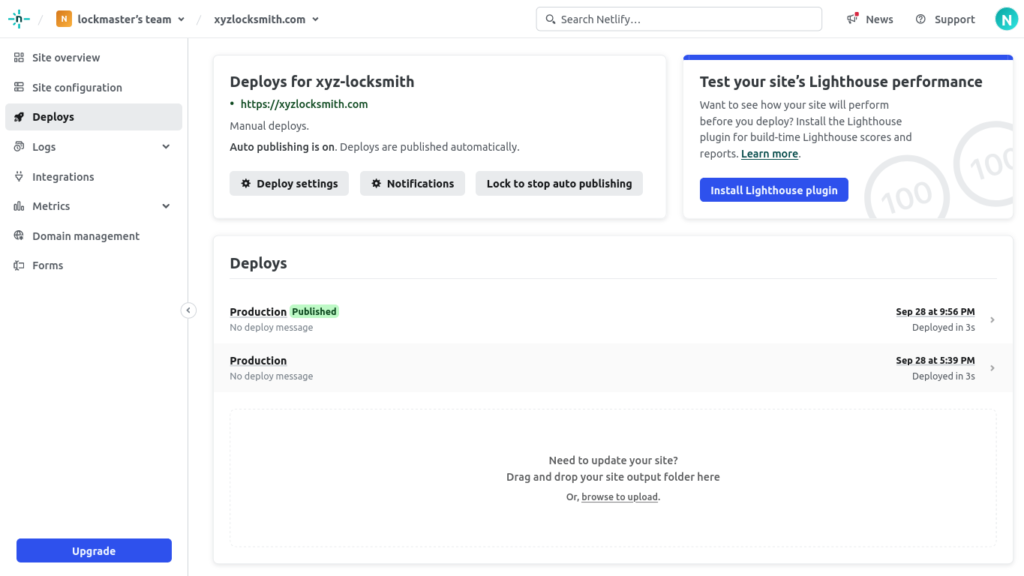
- Now, locate your website by navigating to the “Sites” menu.
- In the site’s management dashboard, click on the “Deploys” menu link.
- On the Deploys page, scroll down to find the “Deploys” section. Locate the area that says: “Drag and drop your site output folder here or, browse to upload.”
- Here, upload your website folder or ZIP archive. Your website is now updated!
- Configure Site Settings: Netlify offers various settings to configure your site. Ensure that your build settings align with your website structure and requirements.
Step 5: Link Your Custom Domain
- Add Domain to Netlify: In your Netlify dashboard, navigate to “Domain Settings” and add your custom domain. Follow the provided instructions to configure the DNS settings.
- Enable SSL: Netlify provides free SSL certificates for custom domains. Enable SSL to ensure a secure connection for your website visitors.
Conclusion
Building a local business website, such as a locksmith website, from scratch and hosting it on Netlify is a cost-effective and efficient way to establish a powerful online presence for your business. By following these steps, you’ve successfully crafted a website on your computer, registered a custom domain, and published your business website—all without the need for extensive coding or financial investment. Your business is now ready to unlock new opportunities in the digital landscape.